Old Business Beatles challenge pieces were removed from the Library and returned. The weaving pieces are finished and will be hung in the Sutherlin library next month. Reminder to new members to make profile pages for our members binder. We will be participating in the Umpqua Valley Quilters Show in April. March meeting will be pattern design from a photograph, with Amy, materials list we be emailed. Pat's Play Day will be Monday the 18th, focusing on photo transfer techniques, specifically computer printer to fabric, we will then make a project with our photos on fabric.
New Business We are going to pass on the "Art in the Garden" this year, it is Fathers Day weekend and the same time as our Quilt Retreat. The Bandon Quilt Retreat days are June 17th and 18th, arrive Monday thru Wednesday noon. I Emailed info, final payment is due at the April meeting. The new Group Challenge is a bit more formal than the last few, "A River Runs Through It" is a series of 14" wide panels that go together in order. Therefore there is a commitment to do the section you selected. If you did not get a pattern piece and directions at the meeting, contact AMY. The challenge will be due in May. Jana advised there will be a Quilt and Antique event in Oakland, Oregon, on August 17th, and asked if we want to put the River Runs Thru it challenge there, or otherwise participate, she will keep us advised about it.
Show & Tell


Dorie has been making several scarves with a combo of knit and crochet, and even weaving in bits of other yarns. She was wearing a creamy eyelash yarn with a darker mix in the center. She told us there is a large old floor loom at Heartwood Resources in Green for sale, if you know anyone who is interested. Corienne says it has about a 36" to 40" wide weaving area. Corienne has helped her daughter design a quick arts project for a group, using heavy mountain wool or Pendelton wool scraps, they made a square basket/bowl. She used fusible interfacing to layer scrap weaving pieces into the bottom of the bowl, and pinched the four corners together to shape it. Finishing it with pearl cotton edges or knots. Peggy told us about a place called "Mecca" in Eugene, next to the Amtrak station, that collects and sells recycled, reusable, art materials, salvage, and miscellaneous. Also that teachers can come in and get materials for free. Info at www.materials-exchange.org Peggy got her weaving challenge piece done, it is a beautiful birds nest on a tree, with glittery copper bird, silk leaves, and the nesting material was a naturally woven palm frond she collected in California. She used a computer printed fabric for the background made from scanned scrapbook paper. Unfortunately I did not get a photo, send me one Peggy. Jana has been struggling with a paper pieced art quilt of trees, and we all gave her advice which probably complicated it even more. A website was recommended for Linda Hibbert in Colorado, who specializes in paper piecing and has a tutorial on her website. Kay has been taking lessons on her new Janome sewing machine. Landreth invited us to tour her studio space when we go on the Bandon trip, or if you are just in the area, in Coos Bay, at the old Charleston School complex.


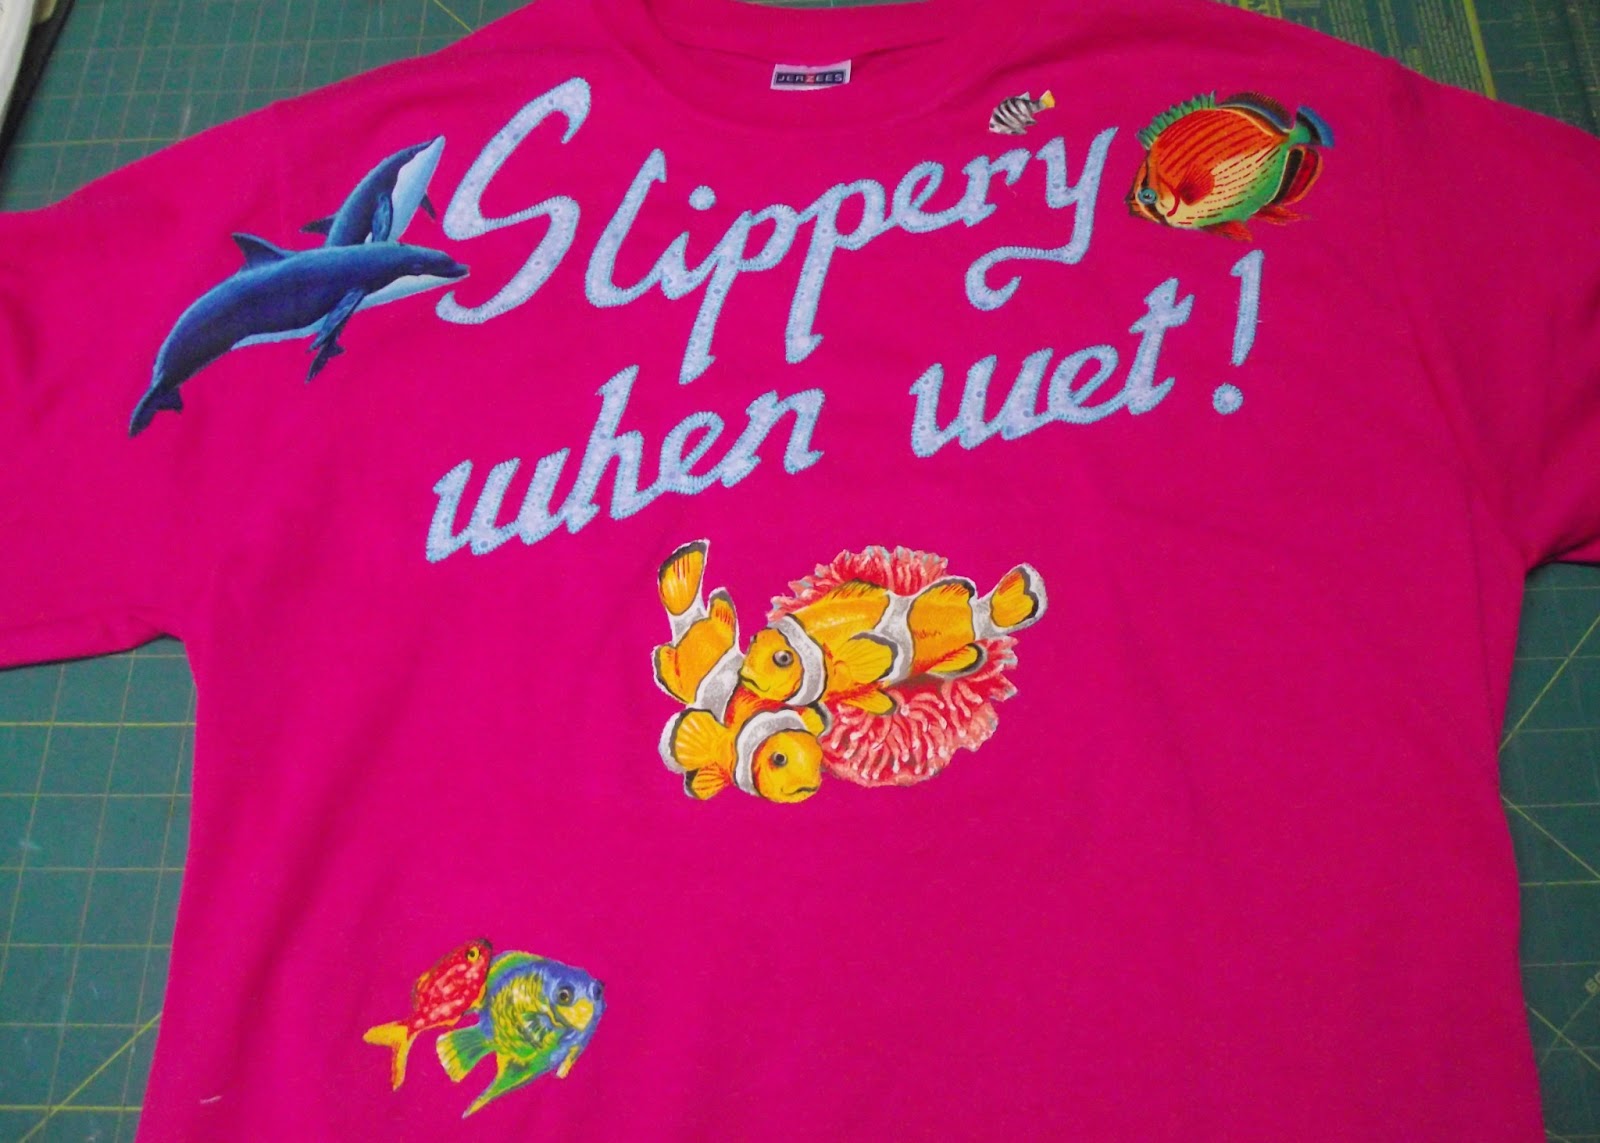
Amy brought her little fold up accordion book with the single line of stitching forming the entire sketch. It was colored with watercolor pencil and wet with a Qtip. The back was colorfully painted with acrylics and stenciled with flowers and sequin waste. She and Peggy had a play day and painted fabrics, stenciled and stamped, just having fun. One of the pieces of fabric with 3 roses was then machine thread painted and quilted, into a small wall hanging. Amy also had made two t-shirts for a gift, one was fused and stitched with a saying, the other was stenciled with torn freezer paper and Shiva oil sticks. The oil sticks had dried out a lot, and advise was giving on storage, wrapping in wax paper before zip lock baggies. So every one is excited about the new challenge and several play days, and the retreat that we are working on. If you know anyone who is interested in textile arts, ask them to join us for our continuing adventures.

 Demo
Demo Peggy brought in a book about photo transfer processes, "Image Transfer Workshop" by Darlene McElroy & Sandra Wilson, she challenged Amy to try the techniques and give a presentation on them. So after trying many of the various methods I concluded that printing on fabric with a computer printer is the best technique, by far! Most of the techniques in the book were for transfer to paper, but some could be done on fabric. I learned there is a difference between Ink jet and copier toner images, and magazine images, so many of the techniques can be tried with both types of images. Putting matt medium on fabric, with the photo rubbed onto it was my 1st choice, only a faint image resulted. When the photo was left on to dry, then the paper rubbed off with water a good image was left, but a little bit of the paper fibers left a white washed look, a little bit of fray check rubbed on helped the image but gave it a light plastic finish. Taping a piece of paper backed fusible webbing, or plain white tissue paper onto printer paper, and run it through the computer printer gave a clear result. The iron on interfacing left a slightly sticky texture, that wore away after a while, and reversed the image, but left a good impression. The tissue paper was applied with matt medium, and the paper fibers merged with the fabric and disappeared, but left a shiny finish, that I think would still be easy to quilt over. So there are many options to try, get the book and try some of them yourself, it was interesting experimenting, and record keeping was a must.


 Dorie has been making several scarves with a combo of knit and crochet, and even weaving in bits of other yarns. She was wearing a creamy eyelash yarn with a darker mix in the center. She told us there is a large old floor loom at Heartwood Resources in Green for sale, if you know anyone who is interested. Corienne says it has about a 36" to 40" wide weaving area. Corienne has helped her daughter design a quick arts project for a group, using heavy mountain wool or Pendelton wool scraps, they made a square basket/bowl. She used fusible interfacing to layer scrap weaving pieces into the bottom of the bowl, and pinched the four corners together to shape it. Finishing it with pearl cotton edges or knots. Peggy told us about a place called "Mecca" in Eugene, next to the Amtrak station, that collects and sells recycled, reusable, art materials, salvage, and miscellaneous. Also that teachers can come in and get materials for free. Info at www.materials-exchange.org Peggy got her weaving challenge piece done, it is a beautiful birds nest on a tree, with glittery copper bird, silk leaves, and the nesting material was a naturally woven palm frond she collected in California. She used a computer printed fabric for the background made from scanned scrapbook paper. Unfortunately I did not get a photo, send me one Peggy. Jana has been struggling with a paper pieced art quilt of trees, and we all gave her advice which probably complicated it even more. A website was recommended for Linda Hibbert in Colorado, who specializes in paper piecing and has a tutorial on her website. Kay has been taking lessons on her new Janome sewing machine. Landreth invited us to tour her studio space when we go on the Bandon trip, or if you are just in the area, in Coos Bay, at the old Charleston School complex.


 Amy brought her little fold up accordion book with the single line of stitching forming the entire sketch. It was colored with watercolor pencil and wet with a Qtip. The back was colorfully painted with acrylics and stenciled with flowers and sequin waste. She and Peggy had a play day and painted fabrics, stenciled and stamped, just having fun. One of the pieces of fabric with 3 roses was then machine thread painted and quilted, into a small wall hanging. Amy also had made two t-shirts for a gift, one was fused and stitched with a saying, the other was stenciled with torn freezer paper and Shiva oil sticks. The oil sticks had dried out a lot, and advise was giving on storage, wrapping in wax paper before zip lock baggies. So every one is excited about the new challenge and several play days, and the retreat that we are working on. If you know anyone who is interested in textile arts, ask them to join us for our continuing adventures.
 Demo Peggy brought in a book about photo transfer processes, "Image Transfer Workshop" by Darlene McElroy & Sandra Wilson, she challenged Amy to try the techniques and give a presentation on them. So after trying many of the various methods I concluded that printing on fabric with a computer printer is the best technique, by far! Most of the techniques in the book were for transfer to paper, but some could be done on fabric. I learned there is a difference between Ink jet and copier toner images, and magazine images, so many of the techniques can be tried with both types of images. Putting matt medium on fabric, with the photo rubbed onto it was my 1st choice, only a faint image resulted. When the photo was left on to dry, then the paper rubbed off with water a good image was left, but a little bit of the paper fibers left a white washed look, a little bit of fray check rubbed on helped the image but gave it a light plastic finish. Taping a piece of paper backed fusible webbing, or plain white tissue paper onto printer paper, and run it through the computer printer gave a clear result. The iron on interfacing left a slightly sticky texture, that wore away after a while, and reversed the image, but left a good impression. The tissue paper was applied with matt medium, and the paper fibers merged with the fabric and disappeared, but left a shiny finish, that I think would still be easy to quilt over. So there are many options to try, get the book and try some of them yourself, it was interesting experimenting, and record keeping was a must.